1. The first step I would take would be to edit the levels of the image to ensure that the balance of right is exactly how I want it, and so that there is contrast between the light and dark tones in the image.


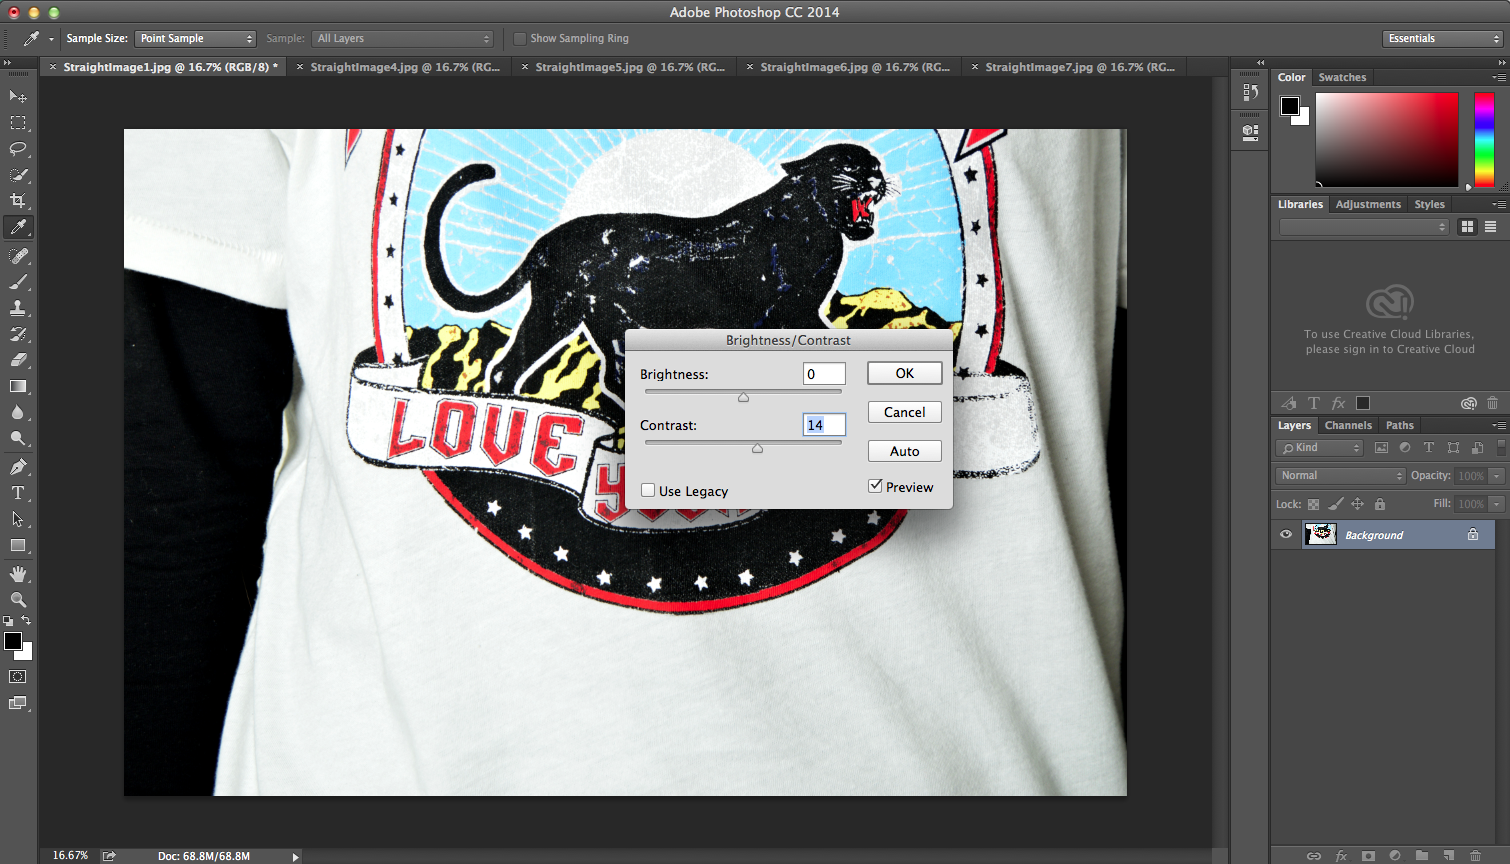
2. Next, I would use the brightness/contrast tool in order to increase the contrast that I created in levels.

3. To make the image black and white, I would create a new black and white layer. In this layer, I would use the colour tools in order to darken certain parts of the image and lighten others. This increased contrast and allowed me to control where the contrast was.


4. After this, I would use the curves tool to darken the image. Then, using the gradient tool, I would drag this from the centre of the image to the outside in order to create a vignette. This made the edges of the image darker so that the centre attracted more attention. In this instance, I wanted the centre of the image to attract most attention as I wanted more focus drawn towards the words on the t-shirt.


Original Image:

Final Image:

No comments:
Post a Comment